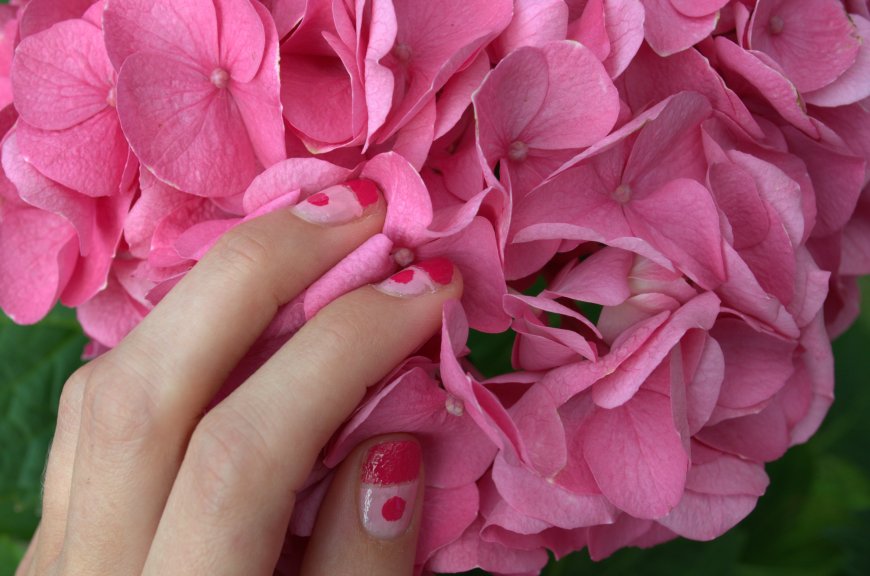
Like I promised yesterday: my summer inspired beauty post, part of my mini-serie ‘Get Ready For Summer With W in Wonderland’. I had so much fun painting my nails for this post. I’m not the best painter in the world, but the design is what it is about. What you need is two different colors of lacquer (I used bold colors, those represent summer for me), cotton buds, tape and some nail polish remover.
The tape is to separate the upper part of your nails from the part below. Paint one part with color x and after removing the tape, paint the other part with color y. For a fun effect I tipped a cotton bud drenched in nail polish on the lower part. You can leave that out if you want. The effect will be more precisely if you use a dotting tool, but I don’t have those kinds of pro- nail tools. Make sure you put on a base coat before painting your nails and a finisher when you’re done.
Girls, I hope you like it! P.S. I used these two lacquers: Chanel Mistral 517 (limited edition) and a drugstore nailpolish from Etos.


Cute!
xx Cara
LikeLike
thats very cute hun
Kisses,
http://www.taislany.com
LikeLike
Thank you! xx
LikeLike